

Our News
Deploy an Application to ZaCloud

ZaCloud is a managed cloud provider that provides managed VPS servers and applications platform. The purpose of it is to provide you with all the tools you need to deploy your application effortlessly and robustly.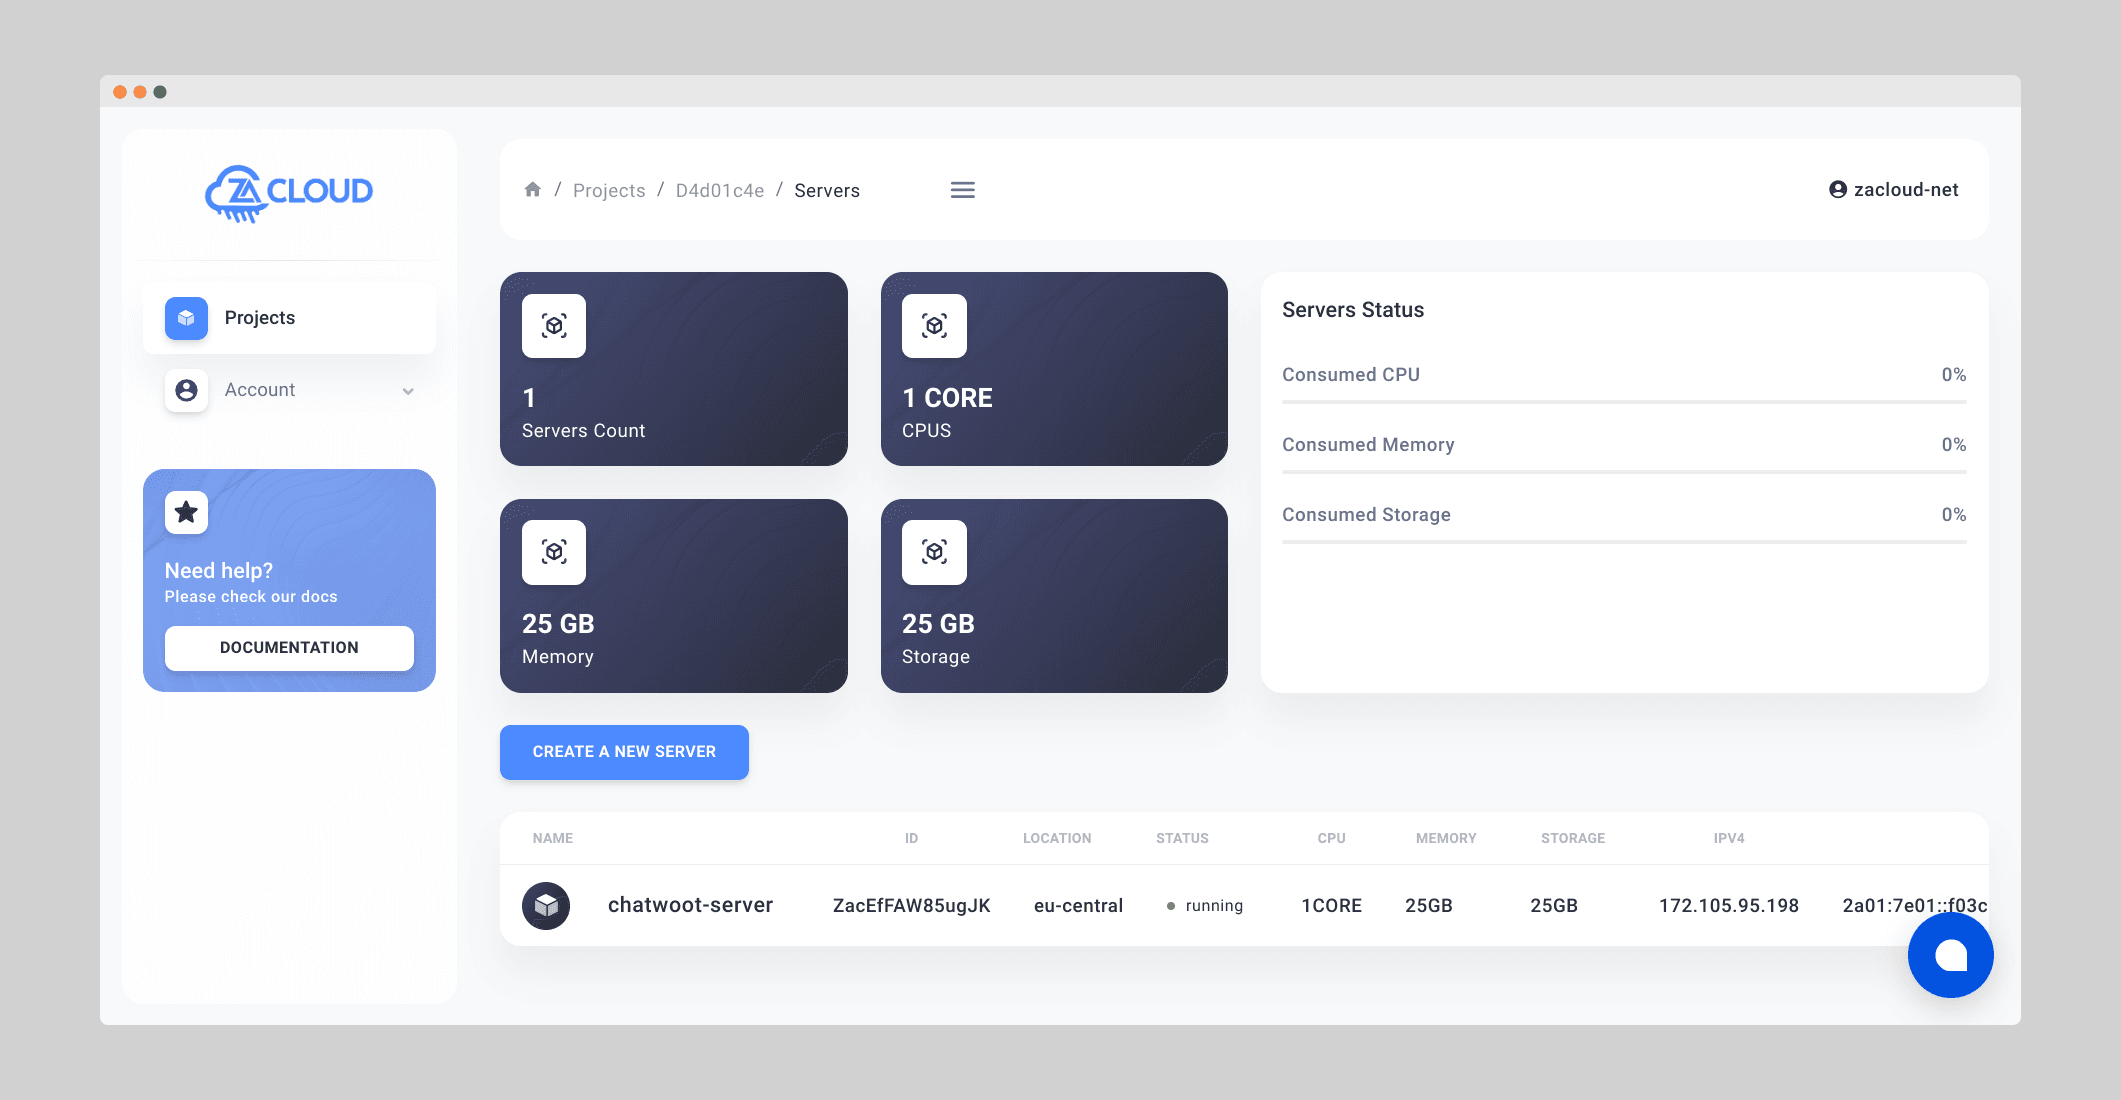 You can click on the server you want and it will take you to the server page, you will find apps tab, you can click on it to see the apps list
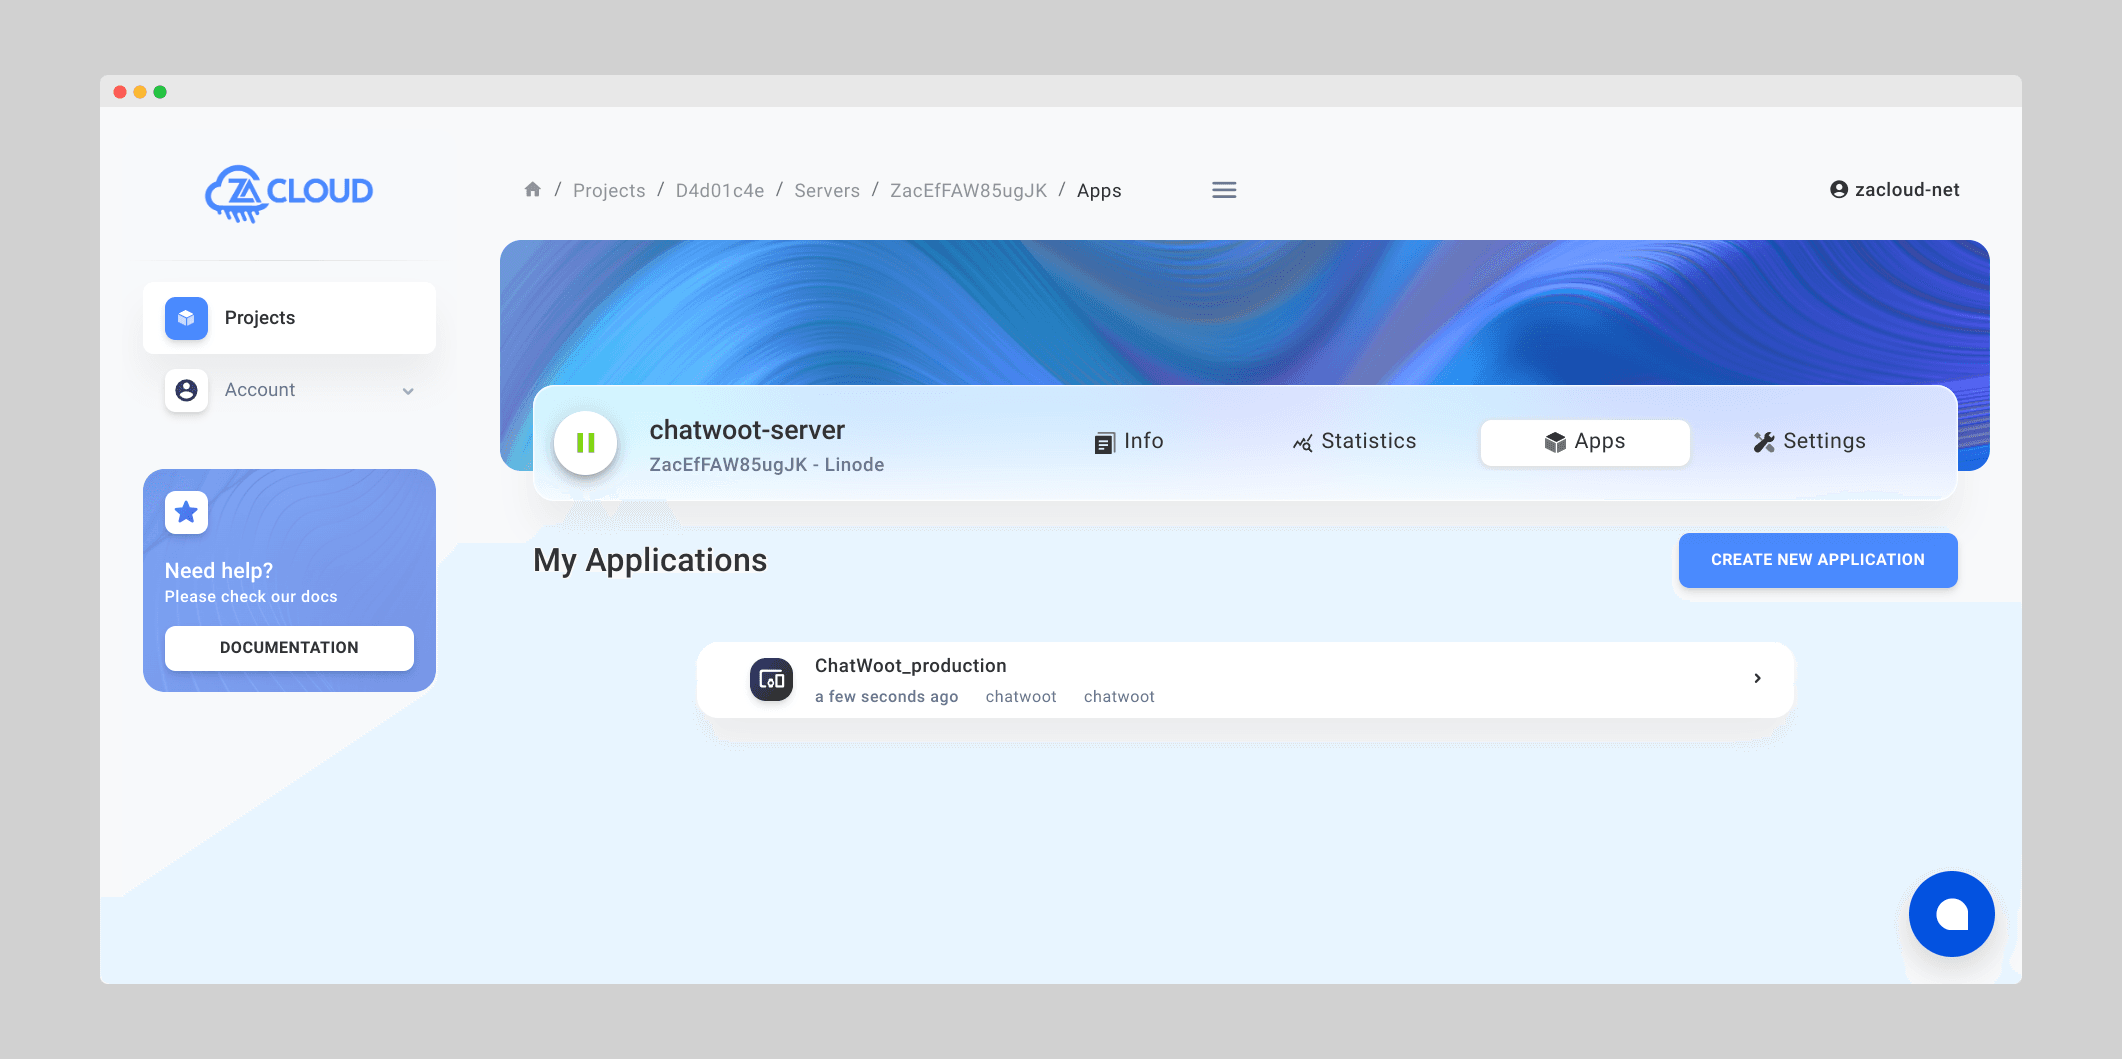 Click on create new application button to create a new app. You will get two options as the following:
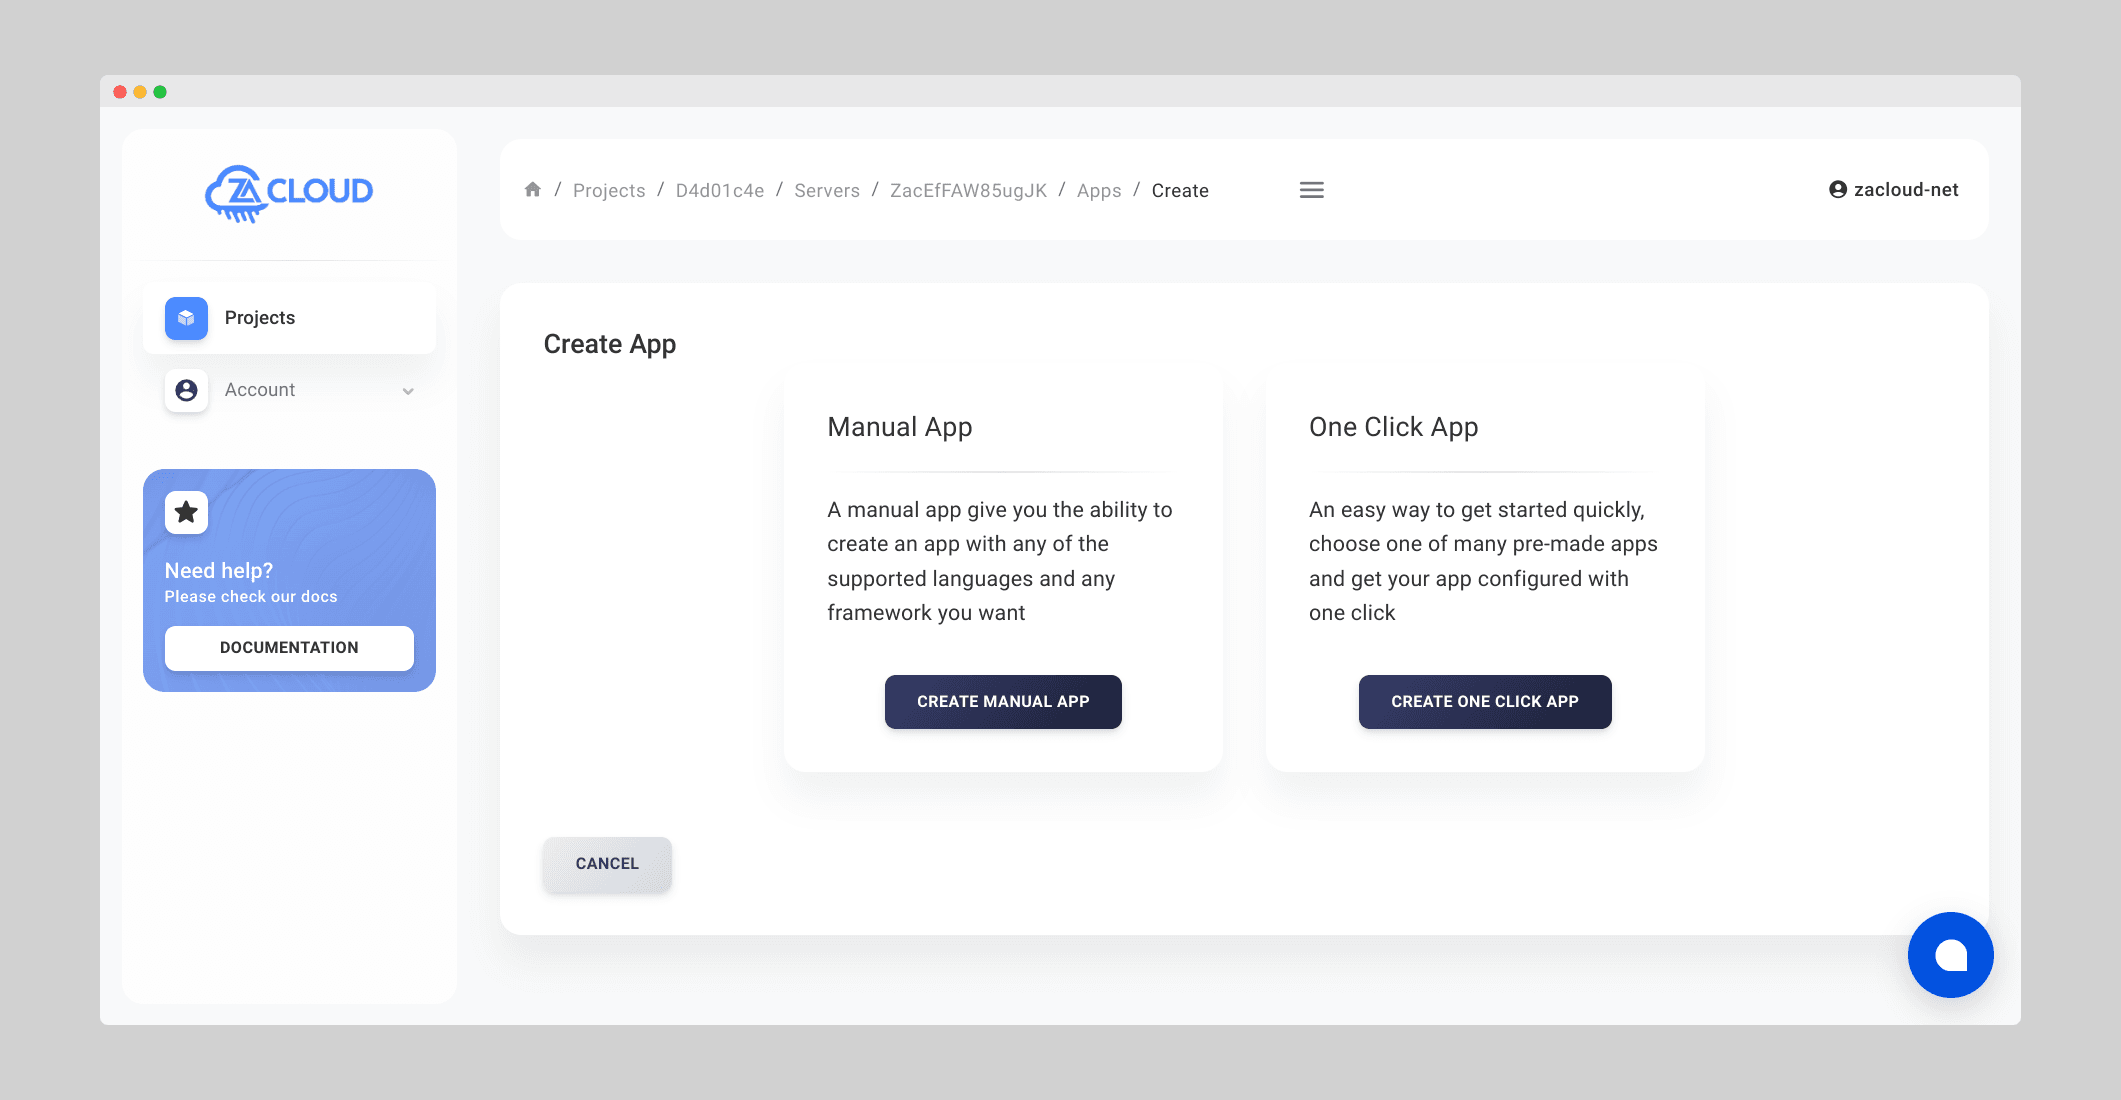 In this article we are describing how to install manual application, for one click apps, you can follow one click app guide.
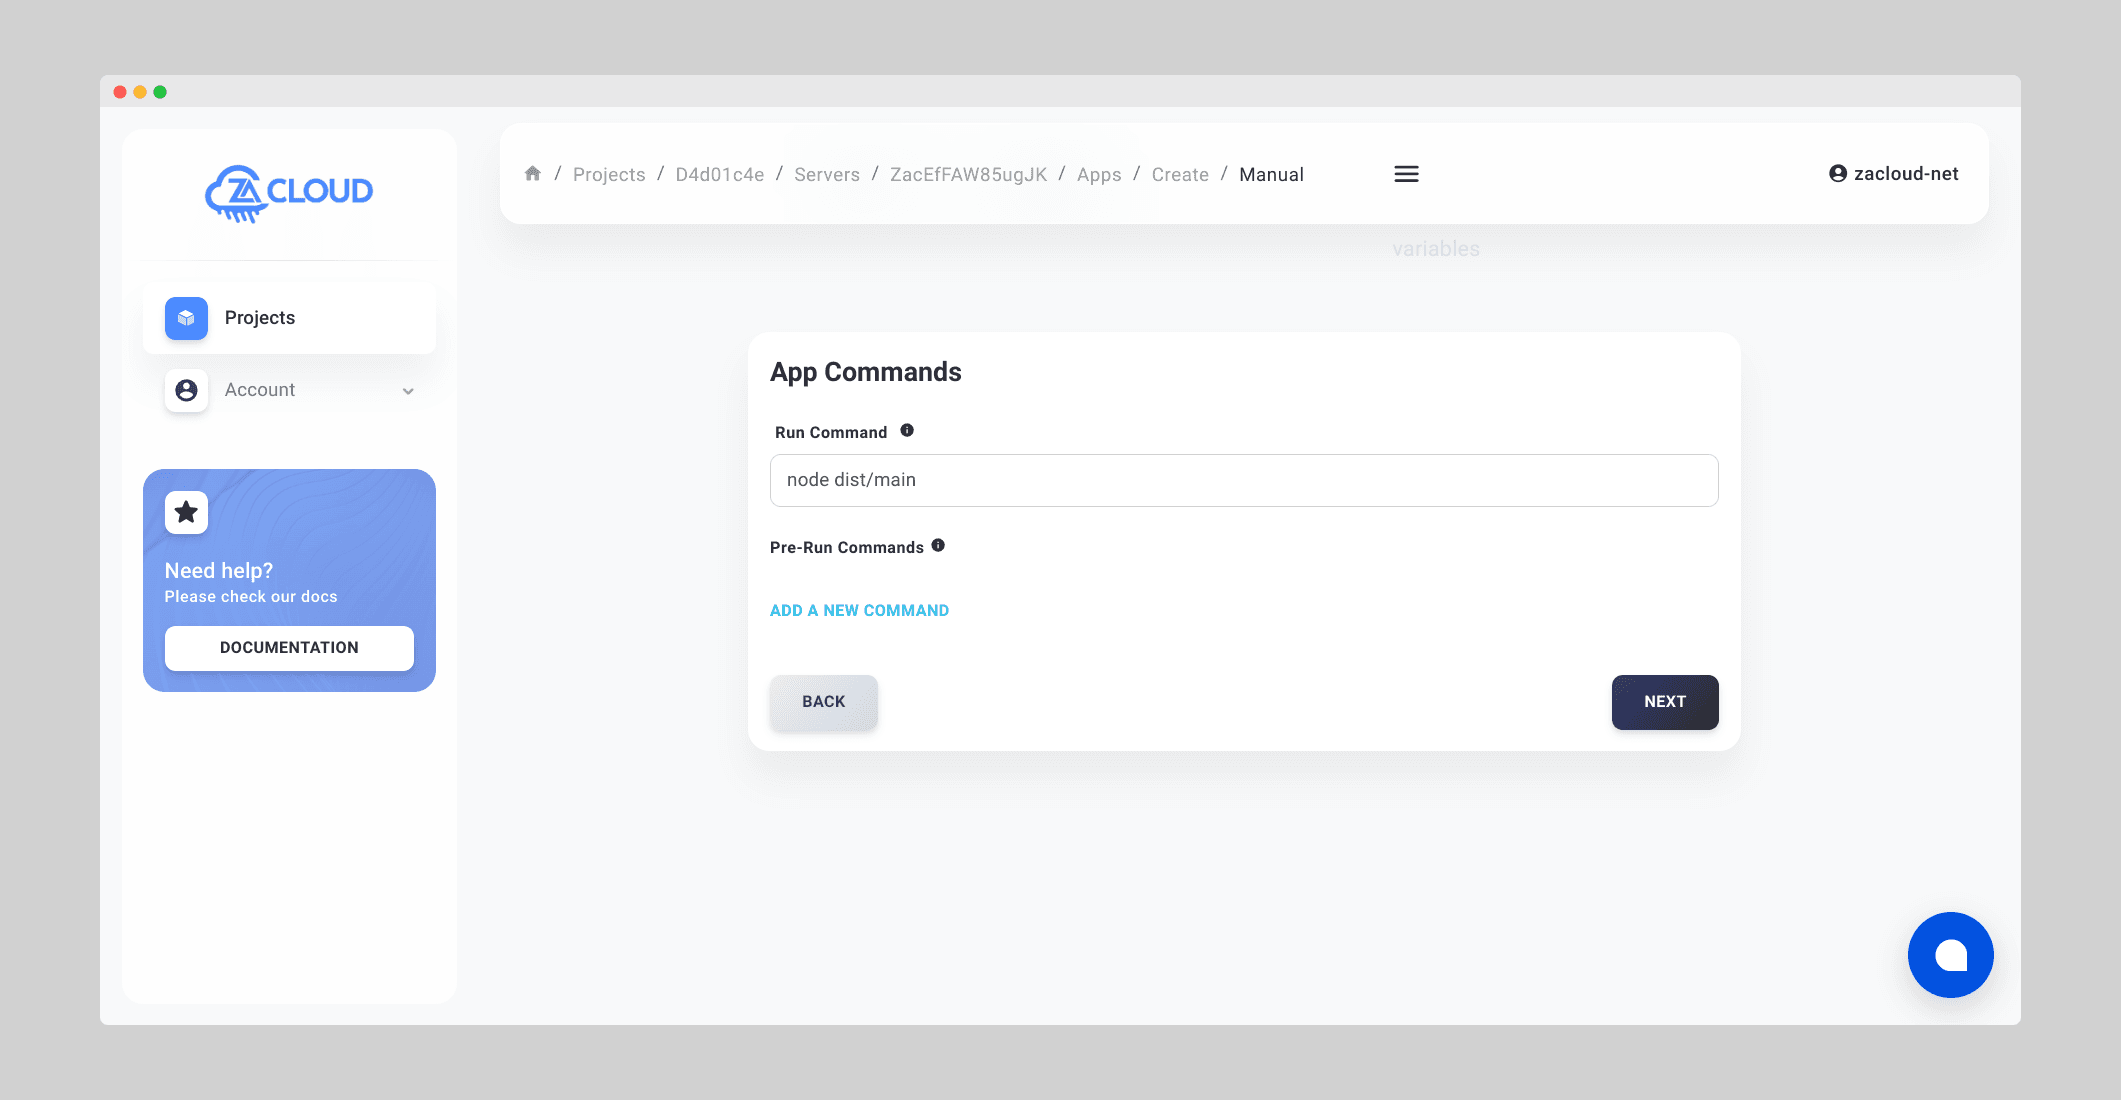
 In this guide we are not describing how to deploy specific app with specific programming language, instead we are describing how the dashboard works and how to deploy a manual application generally.When you select the language and framework, you can go to the next tab which called Commands. This tab includes the command that will be executed to run the application. Each application might have different command that runs it, we put a default well known and common command based on the programming language and the framework but in case you have some customization or your developer has different settings, you can provide the command that runs your application.
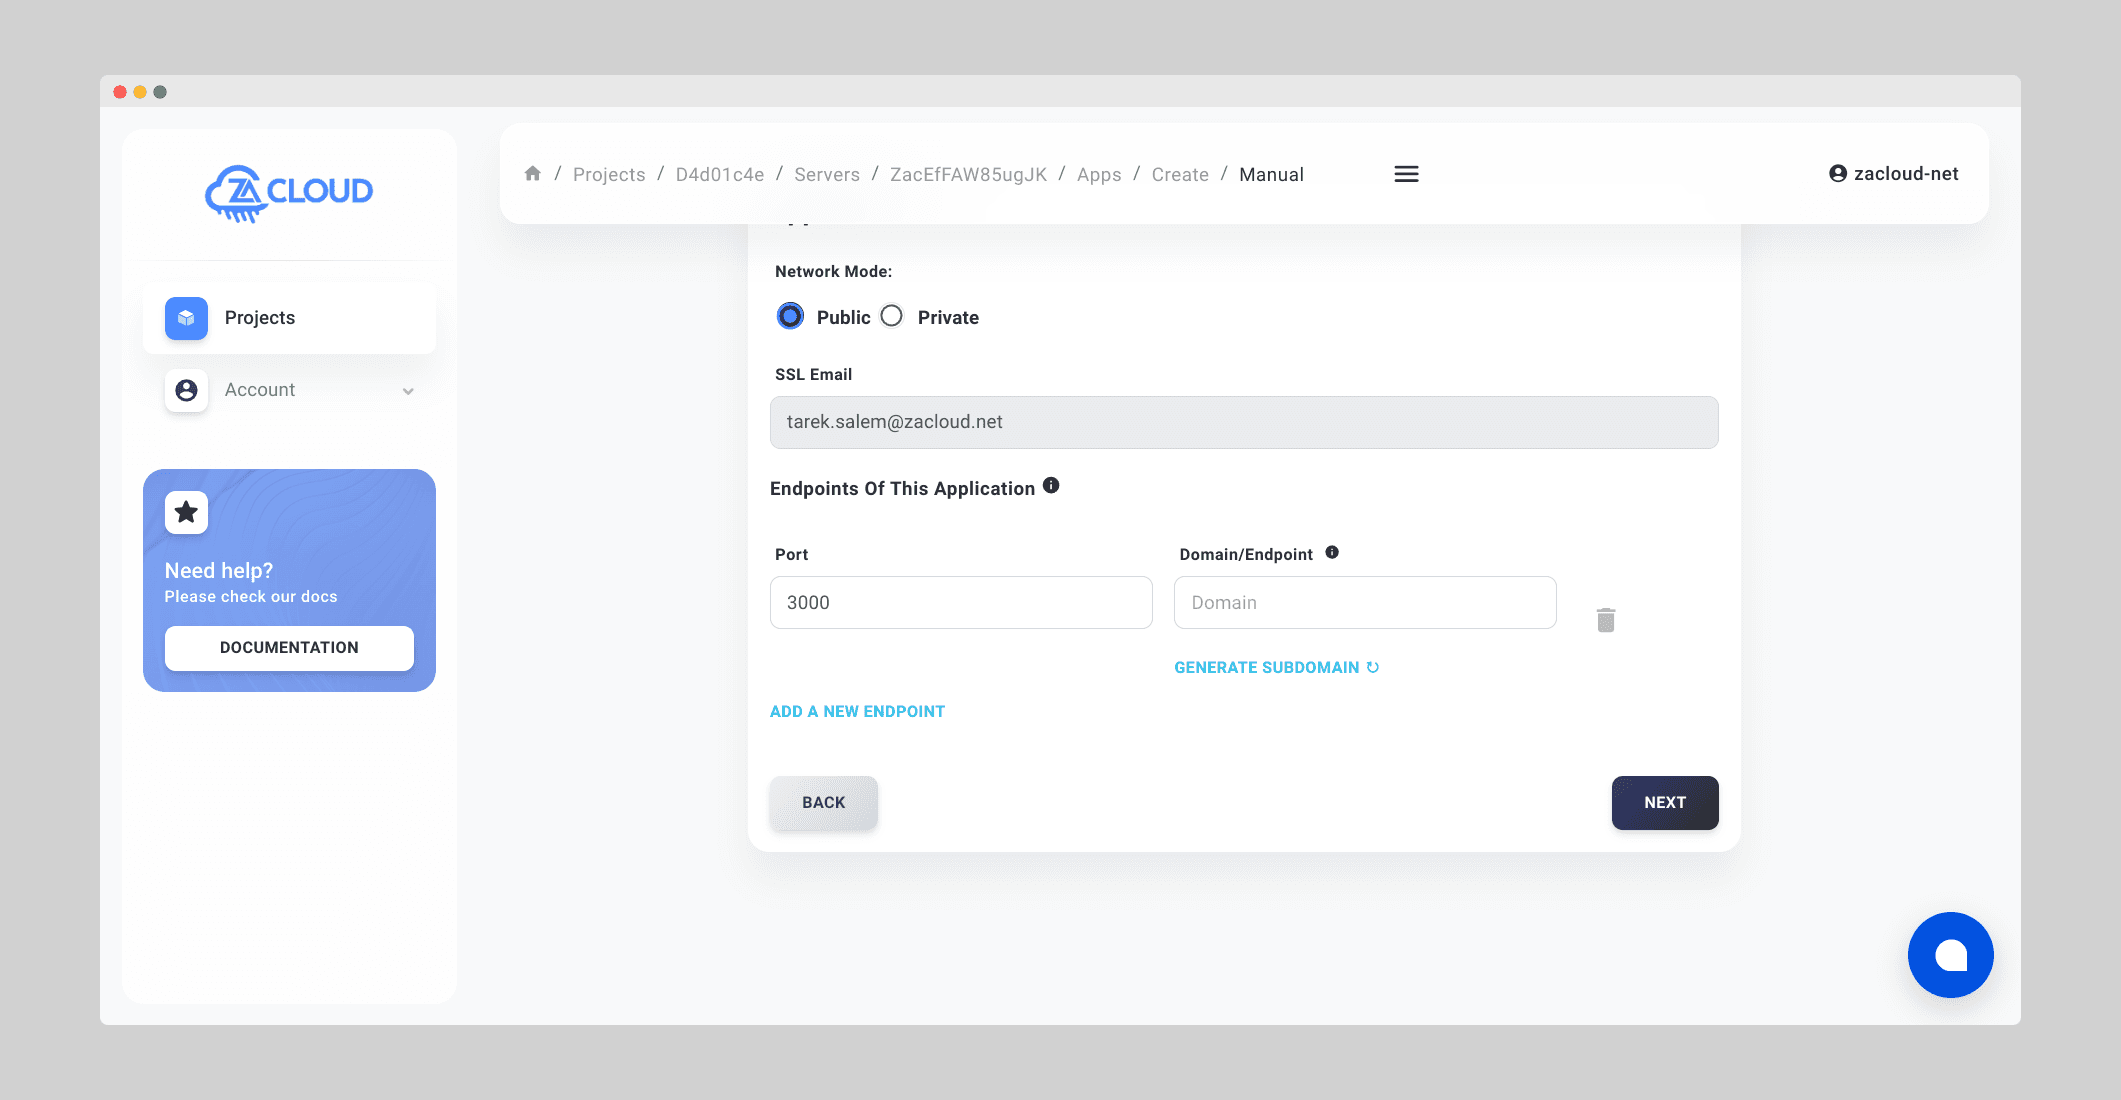
 By Clicking next another tab will show "network tab" you can define their your SSL certificate configuations, we have automated SSL certificates for all apps, you just need to define the domain and the port that application is running on. In case you don't have any customization then the leave the port as it is. In case you don't have a domain, you can click on generate subdomain button to generate a subdomain from our side, this might be useful to test your application or use it for non production applications.
 The next tab is Environment Variables tab, you can define whatevery environment variables you need, this is important for some type of app that has a custom development.Database Tab: In case your application should be connected to a database then you can configure your app db connection from this tab. You will find on the right a dropdown you can select whatever database type, we provide the support for well known databases like Mariadb, Postgres, MySql, Mongodb. Once you select a database type, more inputs will show to provide, the most important inputs you have to provide are the following:
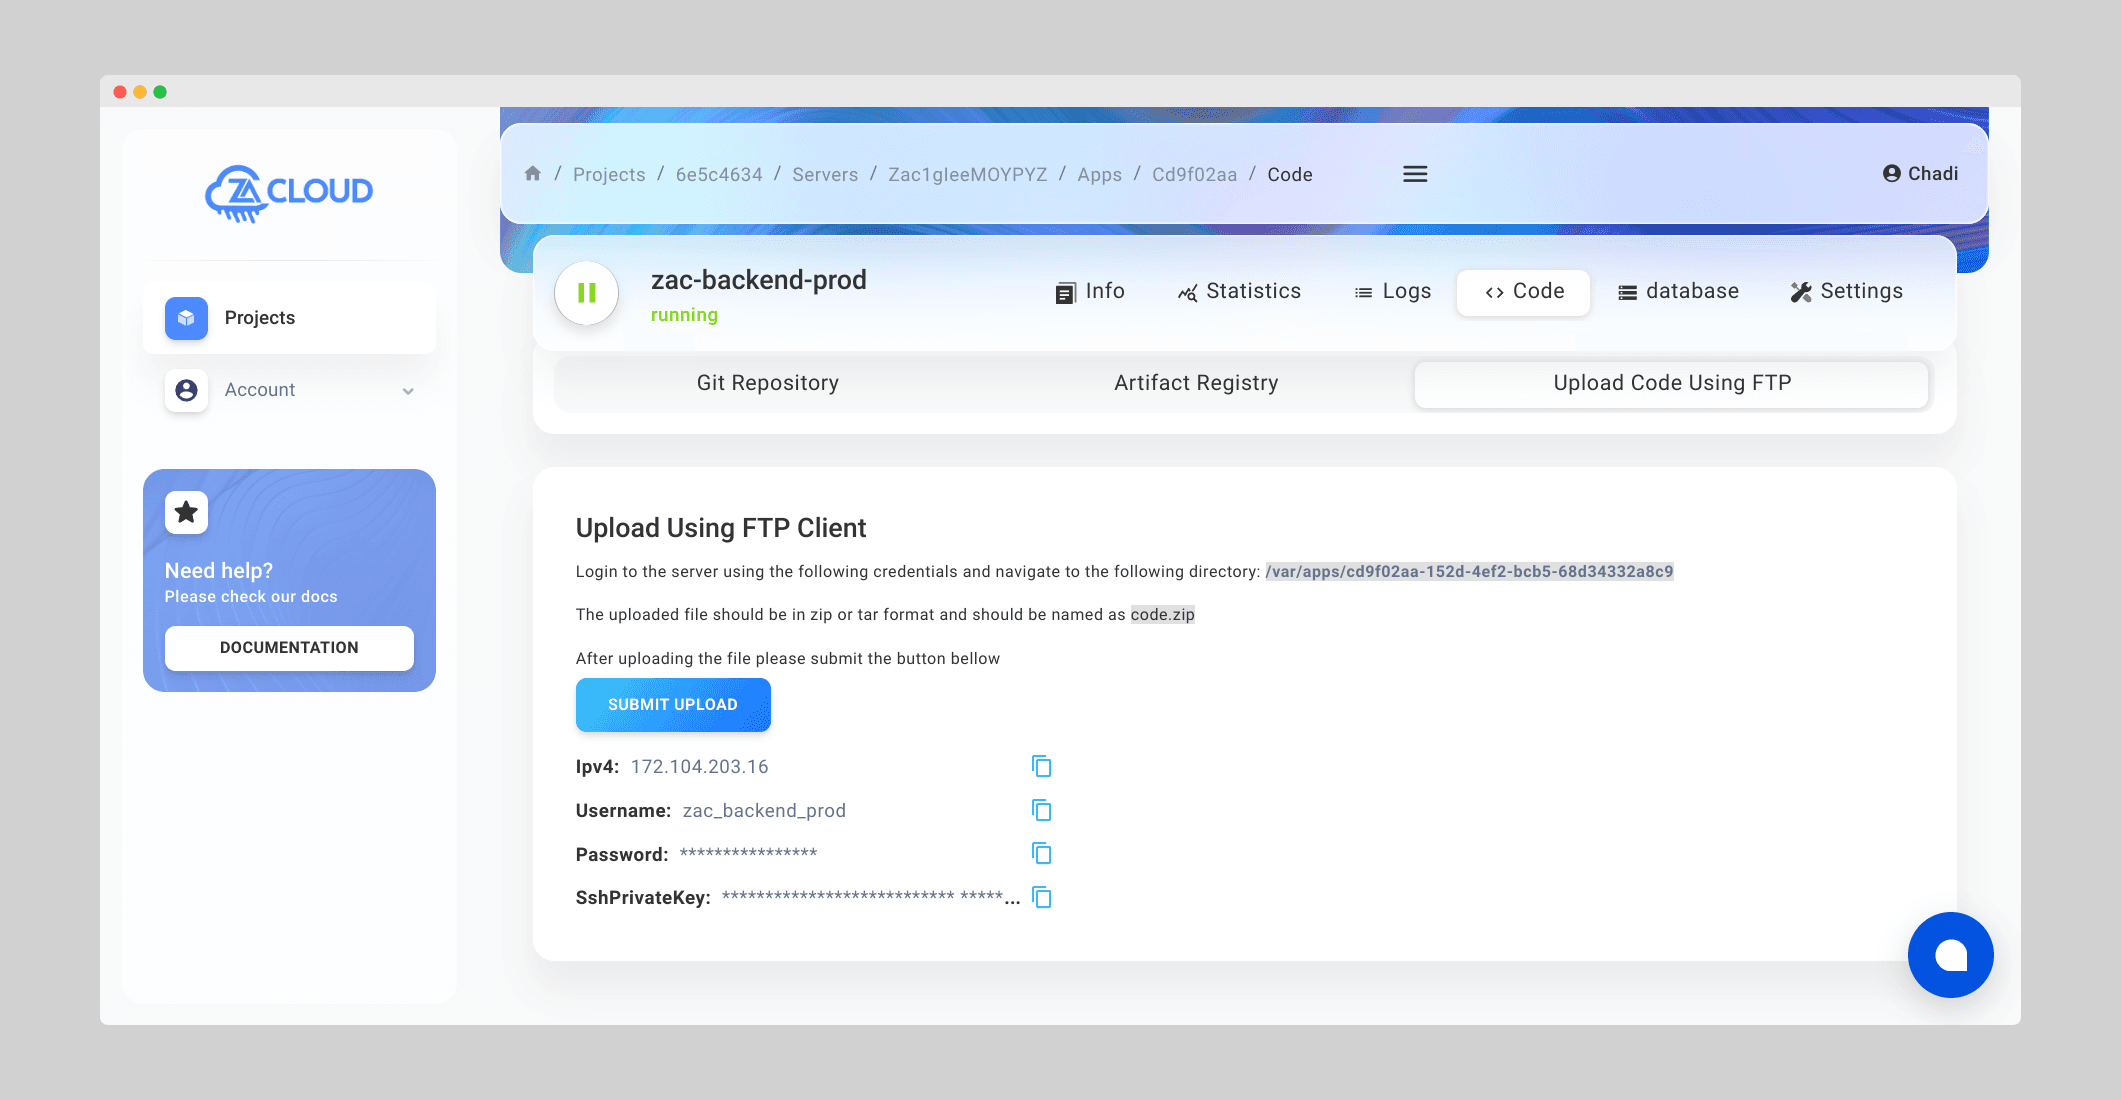 To upload the code you need to have a program called FTP Client on your device, Filezilla is one of the popular programs for this purpose. Then you connect to the server using Filezilla using the provided information like IP address, username and password, you can also use ssh public key instead of passwords. After connecting to the server you need to navigate to the mentioned path that you will find in the code tab, the application folder should be in a path like this /var/apps/{appId}. The uploaded file should be name like this code.zip and should be a compressed file in zip format. After the upload is done from the ftp client program, you should go back to the dashboard and click on the blue button "Submit Upload". This button will start building your code to make it running.
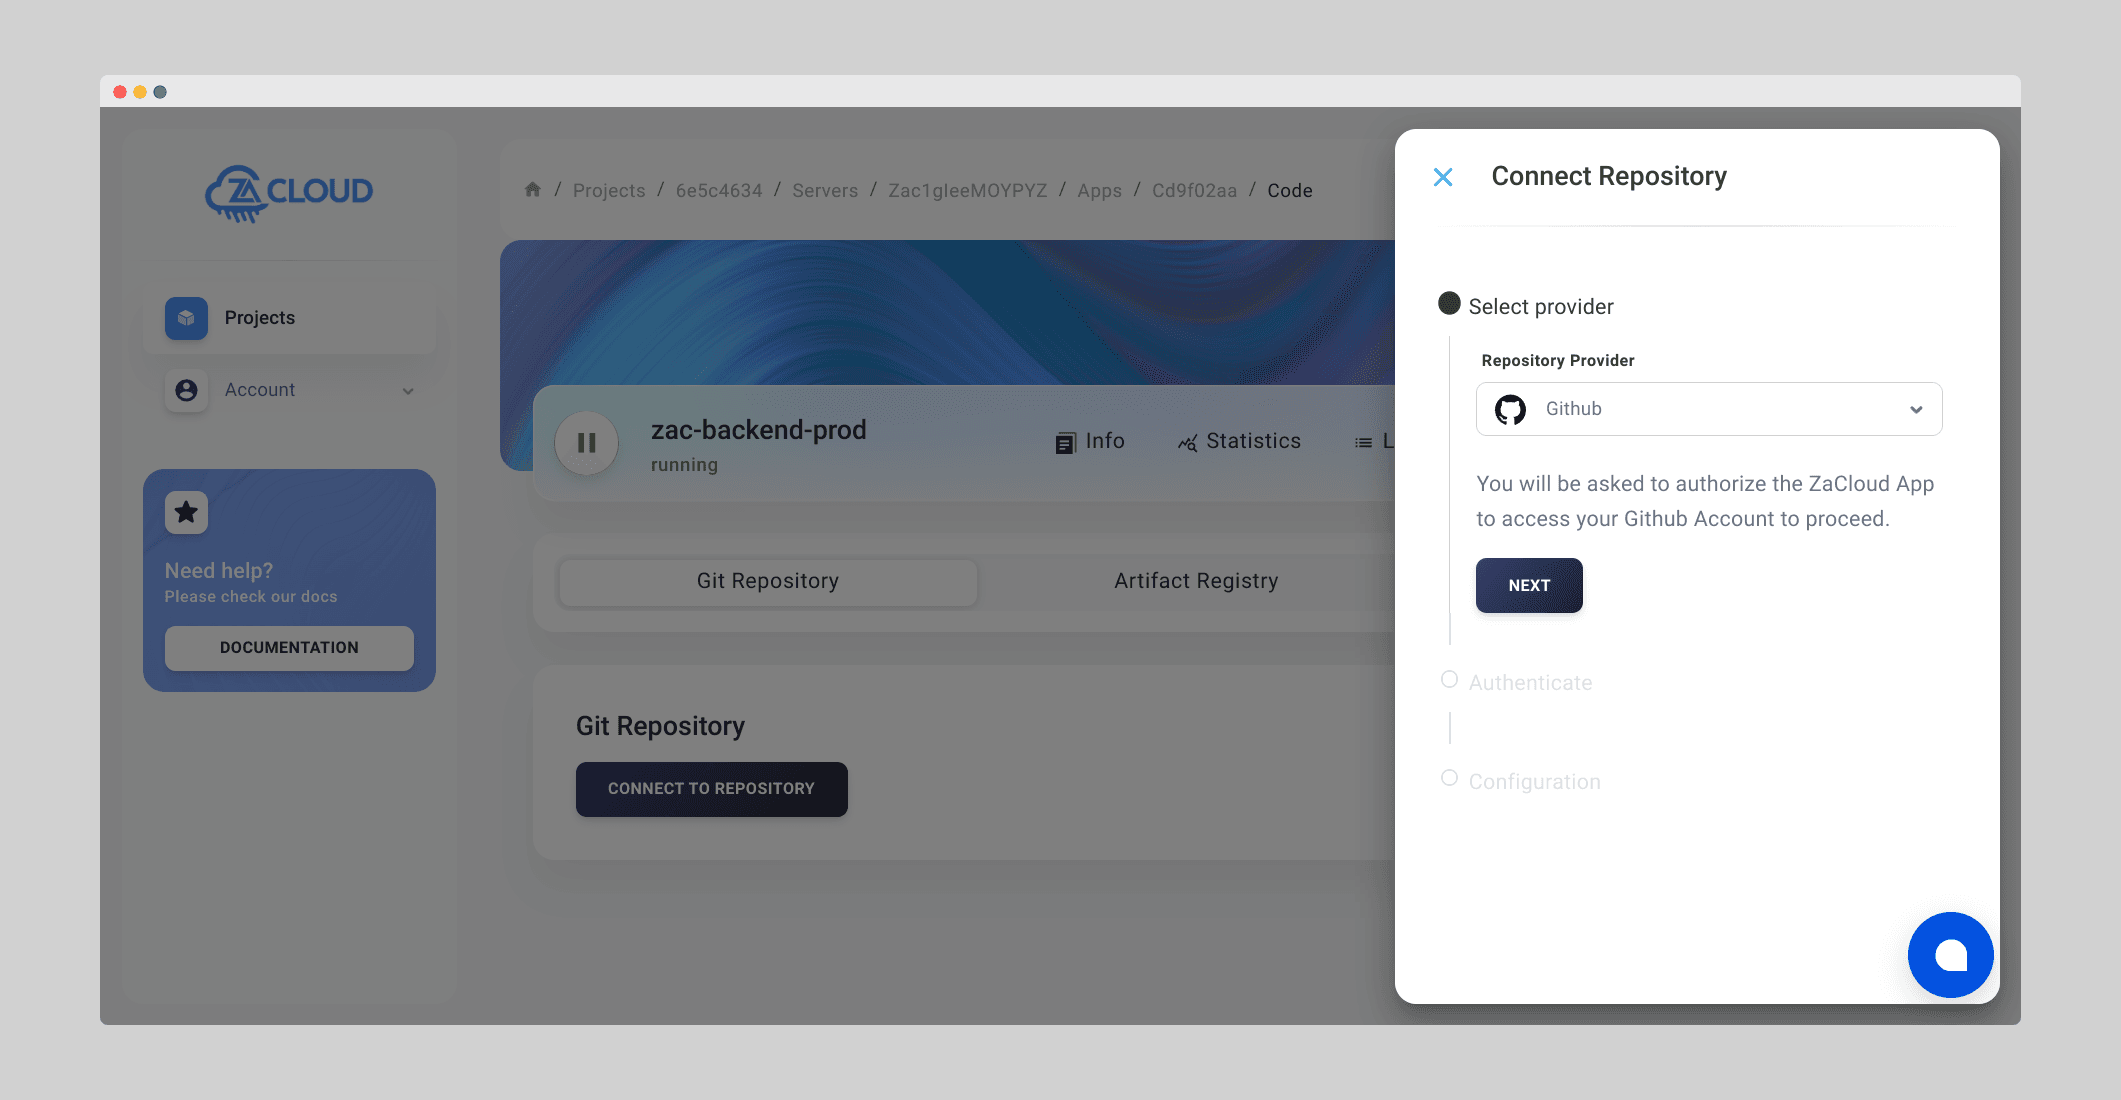 You can select from the dropdown either git or bitbucket, it will open a popup to authenticate with the your git provider using your account and then you can select the repository you want to connect to it and the branch name or the tag. You have two options in the trigger event as the following:
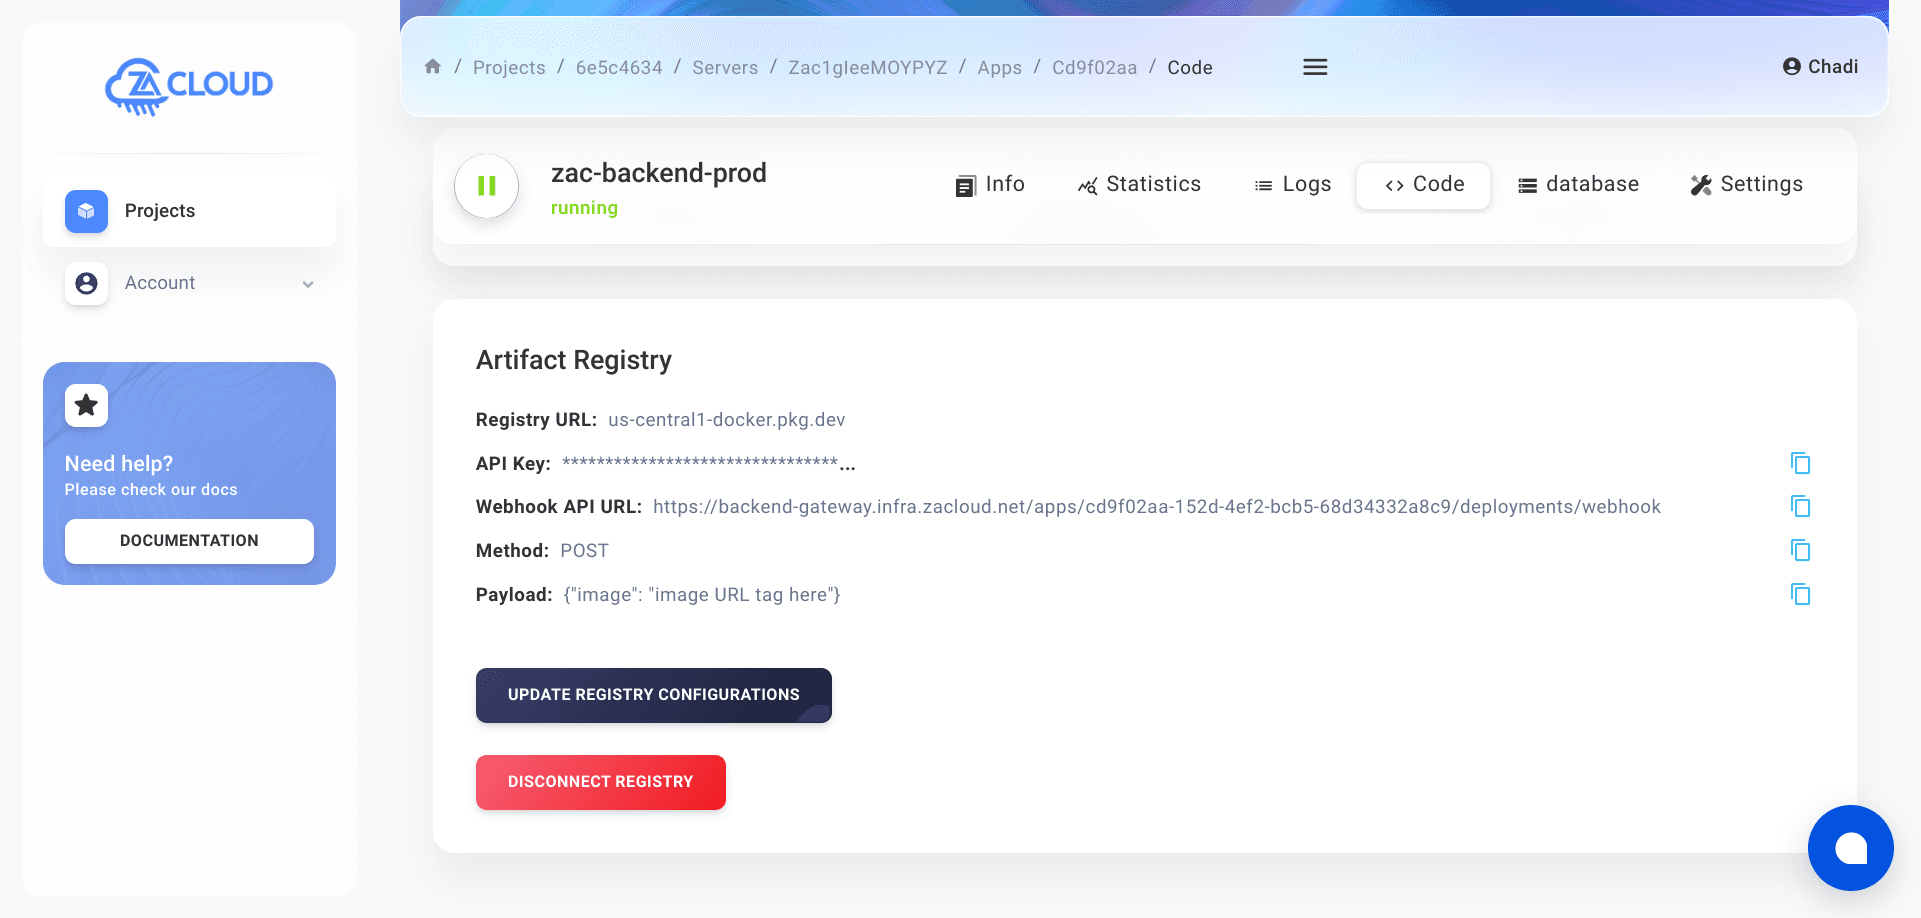 Calling this webhook is a POST request you can add to the CI/CD pipeline or ask your developers to update it.
Supported programming languages
At ZaCloud we support the major programming languages and frameworks such as PHP, Javascript, Java, Python, C#, Rust, and Golang. Regarding the supported frameworks we support the most common frameworks in each programming language, you can find the list on our home page. If a framework is not listed in the options, you can select Another and you have to provide the full structure of the program to make it run on the server.Deploy an Application On The Server
To deploy an application you need to go to the dashboard, in case you are not logged in you have to log in first. You will find the projects list, select the project you want and you will find a list of the created servers in the project like this screen

- manual application: means you have the source code of the application, you will upload the source code of the application, we will explain this later
- one click app: there are many open source software applications that are ready to be installed, we have a well crafted list of one click applications you can install with only one click like wordpress, woocommerce, crm tools, automation tools, databases and more.

Install Manual Application
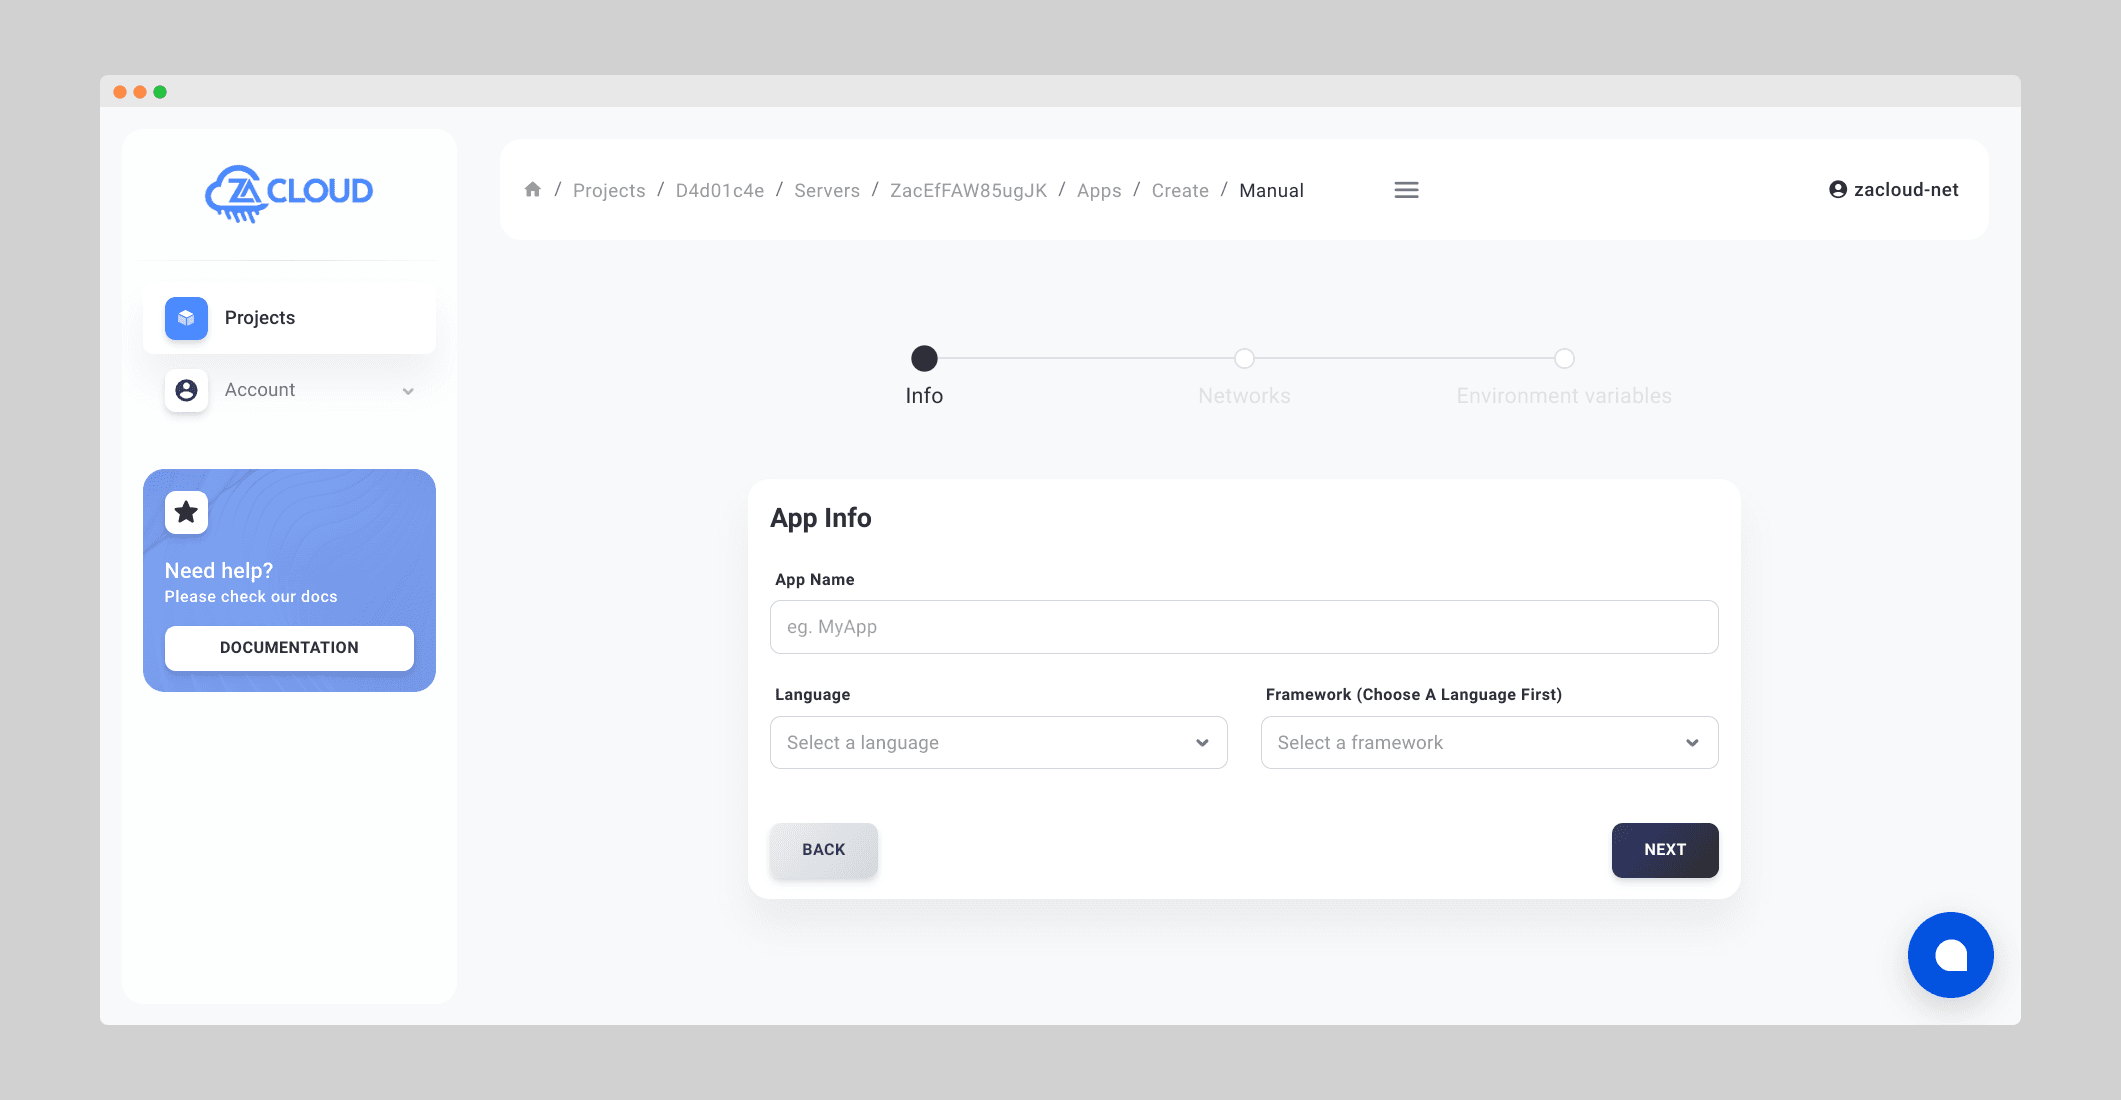
Manual apps means you have the source code of the application and you will upload it. In Addition to this, you have the ability to decide if this application is connected to a database or not and you configure as well the data type and the configuration of the database.When you click on create manual app button a new page will open to fill some information about the app, there are multiple steps, the first step is application information step, you fill some information like the following:- app name
- programming language
- framework

Pre Run Commands
Suppose you are deploying a custom PHP application and you want to run something like database migration before running the application, it's a common need. For this purpose you can use something called pre run commands, which are commands executed before the application runs. To enable it you need to click on add a new command button and there will be an input to write the command you want and there is a checkbox you can select to make this command to be executed only once at first time or everytime there is an update on the application, this might be so useful if you are doing database initialization, such a thing happens only once when the application is deployed for the first time. You can also add multiple commands to be executed in order.

- DB Name Value: this is the database name that will be created "special charachters are not allowed, only underscores"
- DB User Value "special charachters are not allowed, only underscores"
- DB Password Value "special charachters are not allowed, only underscores"
Deploy Application Code To ZaCloud
Once you created the application, the next step is to get it up and running, to do this, you need to upload/deploy the software code. To do this, there are multiple ways:Upload the code manually as .zip file
To do this, navigate to code tab, and go to upload code using FTP tab
Connect to Git Repository
One of the other ways to deploy the code is having it on a git repository (either github or bitbucket) and connect to it from ourside. To do this you can click on Git Repository tab and click on connect to repository button.
- push to branch: this is done whenever there is a new push to the branch you selected
- push new tag: in case you want to build from tags
Connect To Artifact Registery
In case you already have integration with a third party CI/CD pipeline and the build is pushed after that to an artifact registery. ZaCloud let's you integrate easily with your third party CI/CD pipelines. To do this click on Artifact Registery tab and click on connect to artifact registery button. The integration with a third party artifact registery requires two steps:- connect to the artifact registery, click on connect button and a popup will open to provide the artifact registery url, it might be any artifact registery, google cloud, aws, azure or any other registery. You need to provide username and password as well that will be used to pull the built docker image from the registery. In case the registery is google cloud registery, the password basically is the json file for the service account, you can follow this guide as will to configure it
- The second step is to add an additional step your CI/CD pipeline to send to our webhook after the build is done to let our system pull the new image and run it for the specified application. You can do this easily by using the provided information on the dashboard

Disconnect Registery
In case you no longer want the artifact registery connection, you can click on disconnect registery button and everything will be disconnected. You might need to delete the added step to the CI/CD pipeline.- Tag:
- docs